Day 7 – On the road to Shenandoah National Park, VA

We left Stone Mountain State Park around 10am and hit the road. First stop, Virginia Welcome Center. The lady that helped us there was very nice and knowledgable. She recommended we travel on the Blue Ridge Parkway for a few miles, Fancy Gap Exit to Roanoke, for a very scenic drive and to look at the Mabry Mill which is the most photographed area in Virginia. Then, she suggested, we switch over to the interstate, Roanoke to Harrisonburg, to make up some time lost on the slow pace, zig-zaggy roads. We completed our drive traveling on Skyline Drive, which is basically just like the Parkway with breathtaking views and lookout to stop and take pictures.

20130808-095156.jpg

20130808-095215.jpg

20130808-095230.jpg

20130808-095241.jpg

20130808-095258.jpg

20130808-095308.jpg

20130808-095323.jpg

20130808-095331.jpg

20130808-095343.jpg

20130808-095351.jpg

20130808-095415.jpg

20130808-095425.jpg

20130808-095440.jpg

20130808-095448.jpg
Jacob must have really liked this stop, he took so many pictures!

20130808-095635.jpg
We had to make a pit stop at Gander Mountain to buy 2 out of state fishing licenses.

20130808-095823.jpg
On the road again to Big Meadows Campground!

20130808-100501.jpg
Smokey Mountains!

20130808-100532.jpg

20130808-100538.jpg

20130808-100549.jpg

20130808-100558.jpg
There’s deer everywhere here and they are not scared of people. We drove up to them eating while people were walking 20 ft. away from them.

20130808-100738.jpg

20130808-100743.jpg
This day of drive took much longer than planned but the scenery made it worth it. Homemade pasta and meatballs for dinner tonight.

20130808-100923.jpg

Day 6 – Waterfalls, Wine, and BBQ

Our hike yesterday was more exhausting than we thought. It was difficult to get out of bed this morning however the prospect of seeing a beautiful waterfall got me up and at’em. We had researched to hiking trails at home ahead of time and read a few post about an enormous amount of stairs going down to the falls, so after the previous day of hiking we weren’t looking forward to more burning thighs. After seeing this waterfall, it was totally worth it!20130806-165157.jpg
The beginning of the trail.20130806-165246.jpg
A random fireplace, house seems to be missing. 20130806-165357.jpg
Oh Lawd!20130806-165443.jpg
Are they trying to scare us?20130806-165533.jpg
The view from the top. I can see why people have died, this looks like a wicked cool water slide! Who wouldn’t want to chance death and slide down that thing? 20130806-165739.jpg
There isn’t a large pool of water at the base here so I can imagine if you were crazy enough to slide down the impact at the bottom would be most unpleasant. I do not recommend doing that at all! OUCH!20130806-170021.jpg
I tried to get a good shot of bottom of the pool of water at the base. The sand here is covered with a metallic layer of ultra fine silvery mica. The rocks, roots, and trunks of trees were all covered in glitter. It was magical!20130806-170417.jpg
Those infamous stairs, we couldn’t leave without a shot of those.
On to the next waterfall. This one has two pools big enough for swimming and the surface is smooth enough to slide, safely, down into the pool.20130806-170726.jpg20130806-170749.jpg20130806-170808.jpg
Where there’s a will, there’s a way! The trees have grown around the boulders.20130806-170922.jpg20130806-170941.jpg
That’s Jacob, it was too cold for this girl to get in! I’m a weenie.
There is a video of him sliding down the lower part of this water fall but we can not add a video to the blog. We had a picnic lunch and headed back to the camper for a little nap. Then it was on to the vineyard.

20130806-171944.jpg
Tobacco farms are everywhere in these parts. It makes a very pretty plant.

20130806-172058.jpg
Entry gate to Shelton Vineyards.

20130806-172141.jpg

20130806-172155.jpg
Main building containing gift shop, tasting rooms, cellar, distillery, and processing machinery.

20130806-172430.jpg

20130806-172500.jpg

20130806-172414.jpg

20130806-172421.jpg

20130806-172451.jpg

20130806-172607.jpg
After the tour, we sampled everything they had to offer. Of course we bought some wine and got a good recommendation for a BBQ joint and headed there for dinner.

20130806-172812.jpg

20130806-172826.jpg

20130806-172843.jpg
Almost every table ordered this Smokey Mountain delight.

20130806-172950.jpg
Pretty site to part with!

20130806-173045.jpg
Back at camper, we finished our night of with toasted marshmallows.

Jacob’s Jambalaya

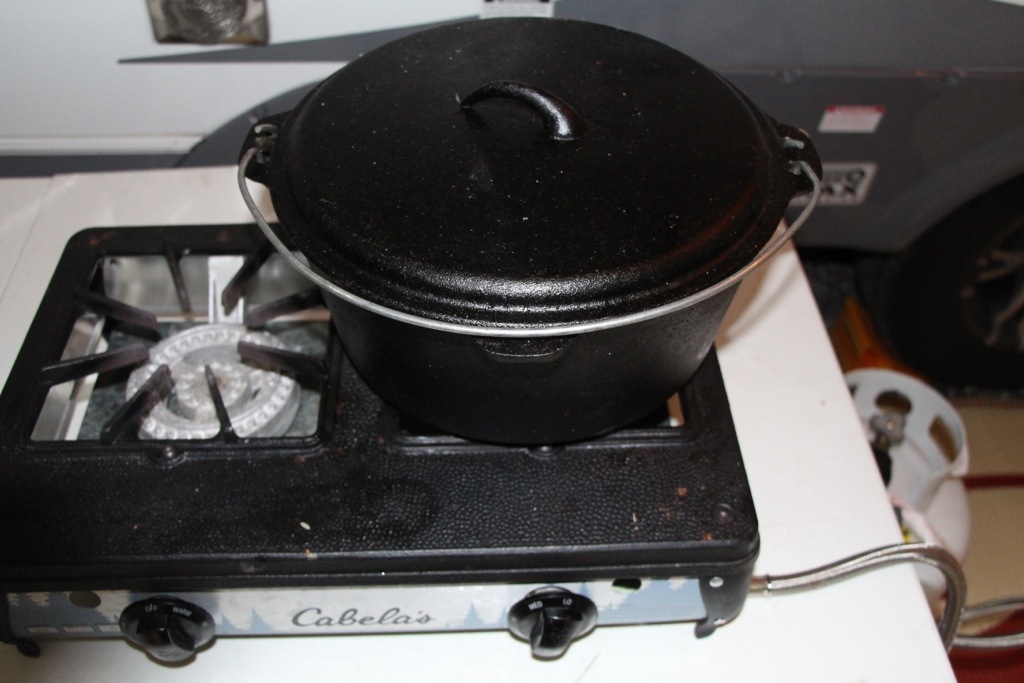
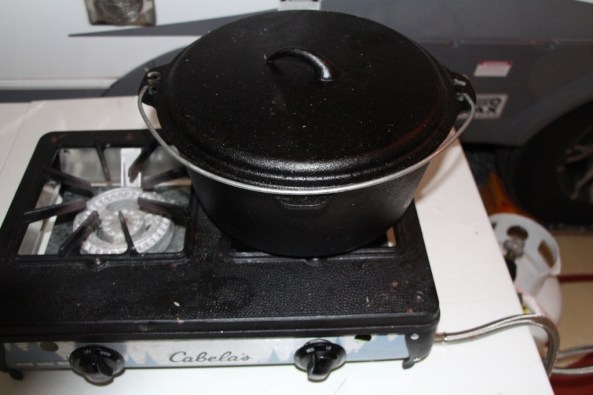
Alright, here’s my quick and easy Chicken and Sausage Jambalaya Recipe. I most often cook this during camping trips because it doesn’t take much cooking time as a typical pork Jambalaya often does. Gotta cook it in a well-seasoned cast iron pot, we love it..

Ingredients
1 – medium Onion
1 – Large Bell pepper
1 – 4 stalks of celery
4 – cloves of garlic
2#’s of boneless, skinless chicken thighs
2#’s of smoke pork sausage
10 cups of chicken broth
4 cups of parboiled rice
2 tablespoons of oil
Your favorite cajun seasoning, we like Slap Ya Mama

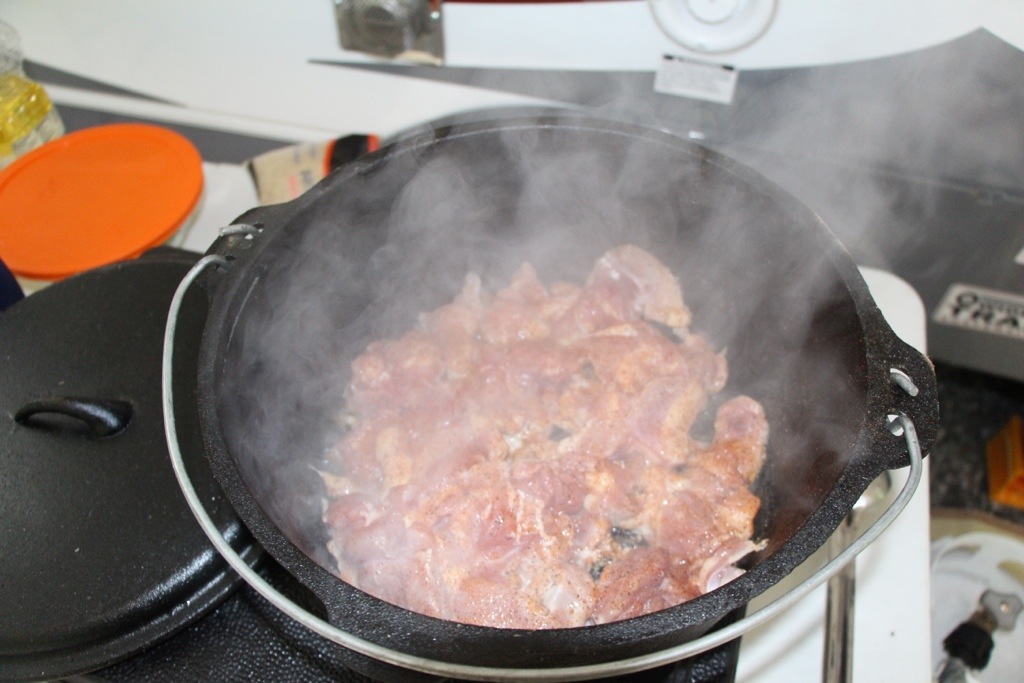
Cut up vegetables and set aside. Cut chicken thighs into 1″ x 1″ pieces and season well. Heat cast iron pot on medium to high and add oil. Place seasoned chicken thighs into pot and push down so that the chicken thighs are flat against the bottom of the pot. This will ensure you get a good browning of the chicken. When chicken is browning, don’t stir.

20130803-144847.jpg
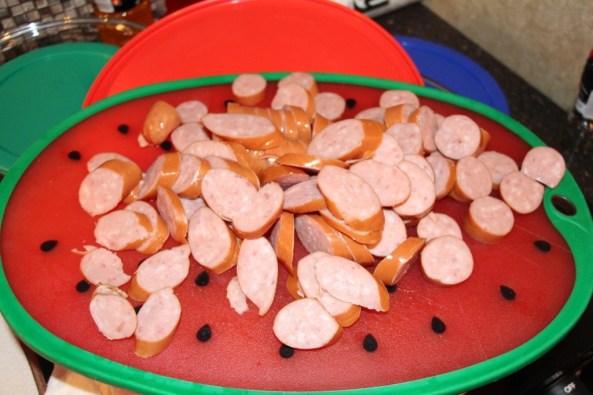
Cut up sausage into 1/4″ slices and place on the side.

20130803-144956.jpg
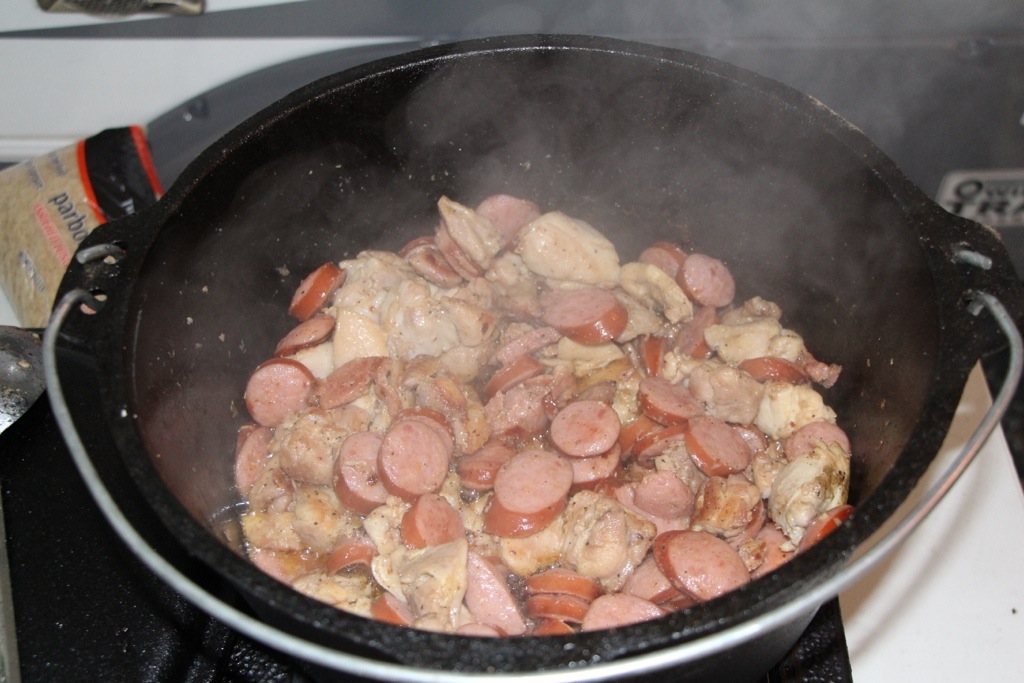
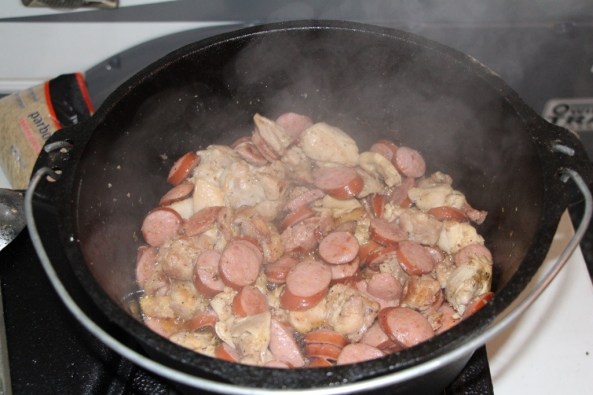
Check out the browning of the chicken, look at a couple pieces, it should be a dark brown. After majority of chicken have browned, flip the chicken by stirring the pot. Don’t scrape the bottom, leave the “gradeau” (burnt stuff) on the bottom, this will make your jambalaya brown in color. Add the sausage to brown as well. This sausage is mostly cooked so it only needs to brown a short amount of time.

20130803-145116.jpg
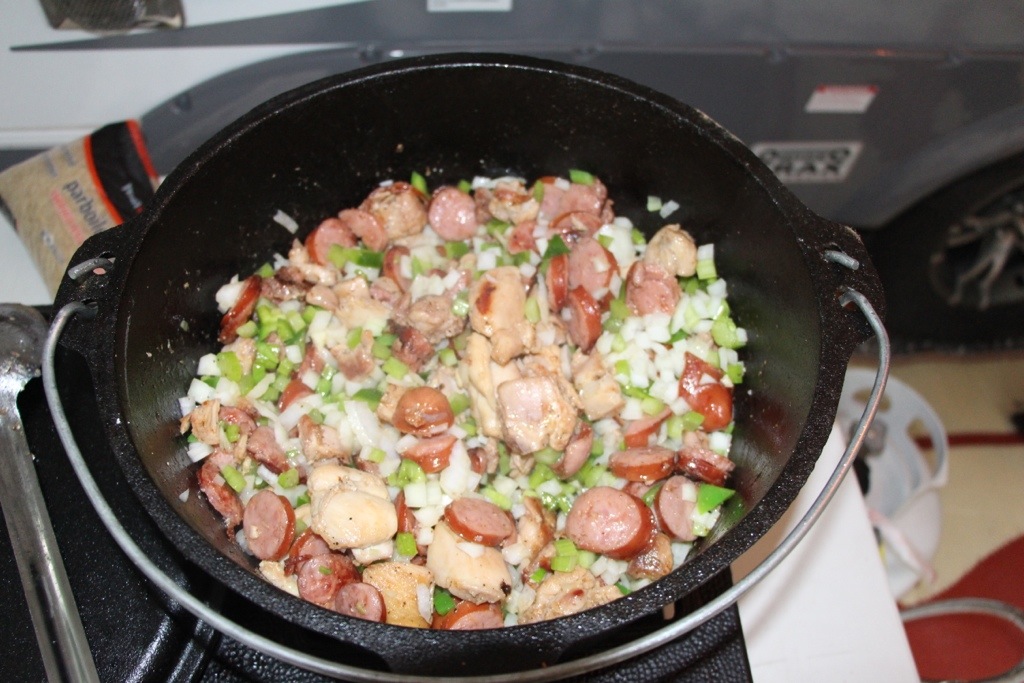
After a good brown on the meat (mind the “gradeau” on the bottom), add the vegetables to the pot.

20130803-145232.jpg
Sautee these until the onions are transparent

20130803-145315.jpg
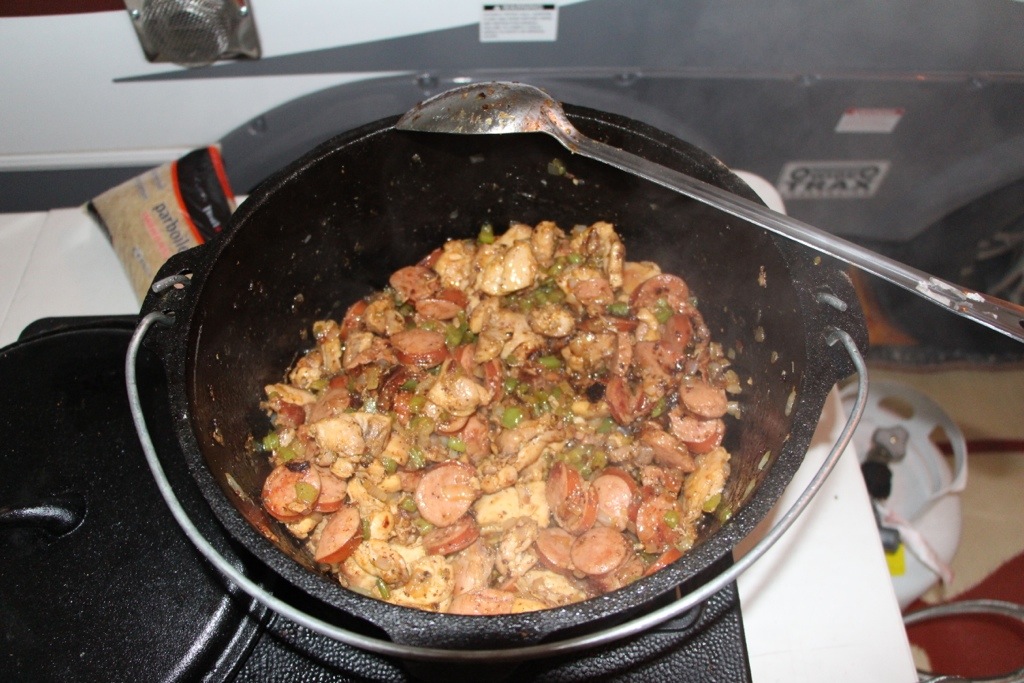
Add the 4 cups of parboiled rice. I like using parboiled because it’s more forgiving than regular rice. You can be off a bit on the chicken broth and the rice will still turn out perfect, my little secret. Nobody likes crunchy rice, right?! Now look on the back of the bag of rice, substitue the amount of water you would use to cook the rice with Chicken broth. Again, it doesn’t have to be perfect, we’re using parboiled. Add the broth to the pot. Remember that “gradeau” on the bottom, go ahead and stir it up. You should notice your liquid color get darker and darker, that’s the secret to deep brown jambalaya. After stirring up the bottom, raise the temperature to high and wait for it to boil.

20130803-145850.jpg
Once the boiling starts, immediately lower the temperature down to low and cover the pot.

20130803-145957.jpg
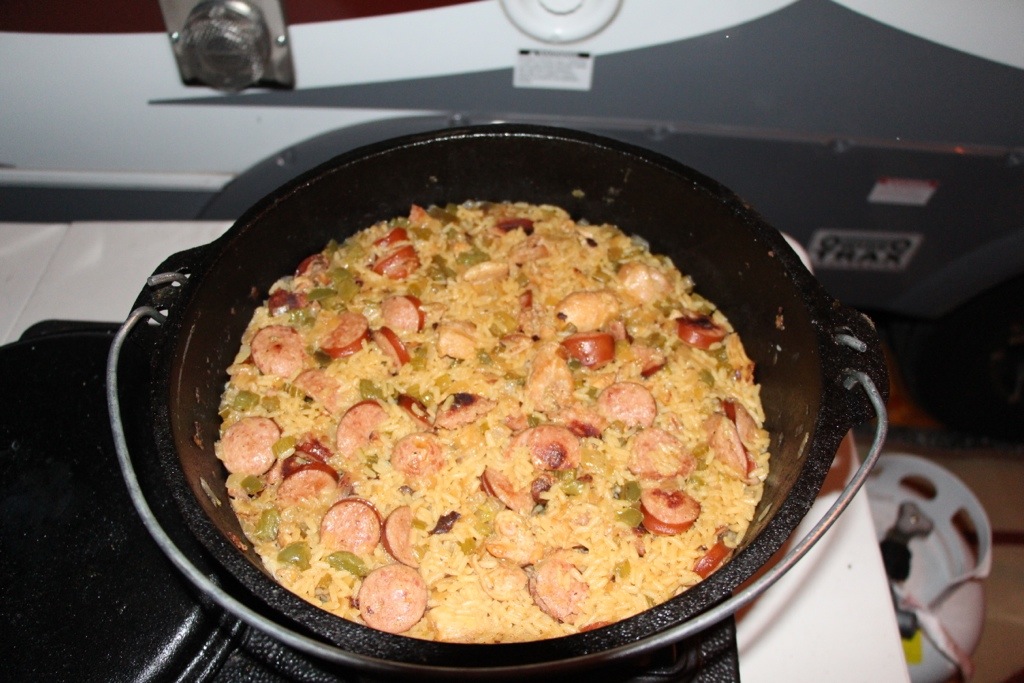
Let the rice cook for 1/2 hour. After time’s up, check the rice, it should be plump and soft and little to no liquid should be left. If not, cover the pot again and cook for 5 more minutes or until liquid is gone. Let cool for 10 minutes and enjoy, Bon Appetit!

20130803-150306.jpg